Make clock from recycled plastic

MOULD
PRODUCT
COMPRESSION
Make clock from recycled plastic
MOULD
PRODUCT
COMPRESSION
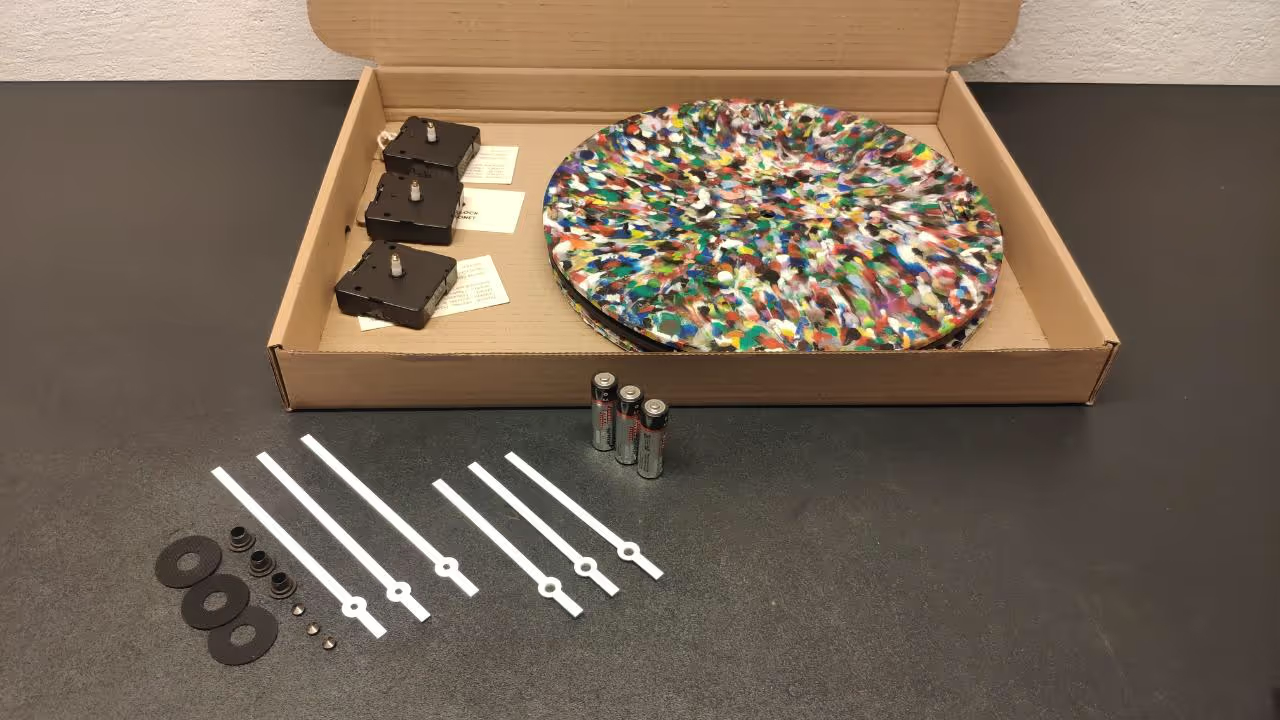
Making clock is not difficult and you are able to recycle about 300g per clock in less than 2 hours. With creative design can be clock nice present for your friends or family. These hand made products can be done with electric oven, mini press and a simple compression mould. Clock diameter is 30 cm with thickness of 5mm. Material cost is about 6 EUR/ clock.
Browse Files
Table of Contents
You can get laser cutted mould on [filtered] bazar:
I understand that transporting mould can be costly for countries, especially outside Europe. Therefore, I can provide you with 3D files in STP format, plans as PDF + plans in DXF format. If you have access to a laser cutting machine and are only interested in files, send me a message and we can discuss the possibilities Why don't I release all the models for free now? Because I need money for further development :) And now let's start ..
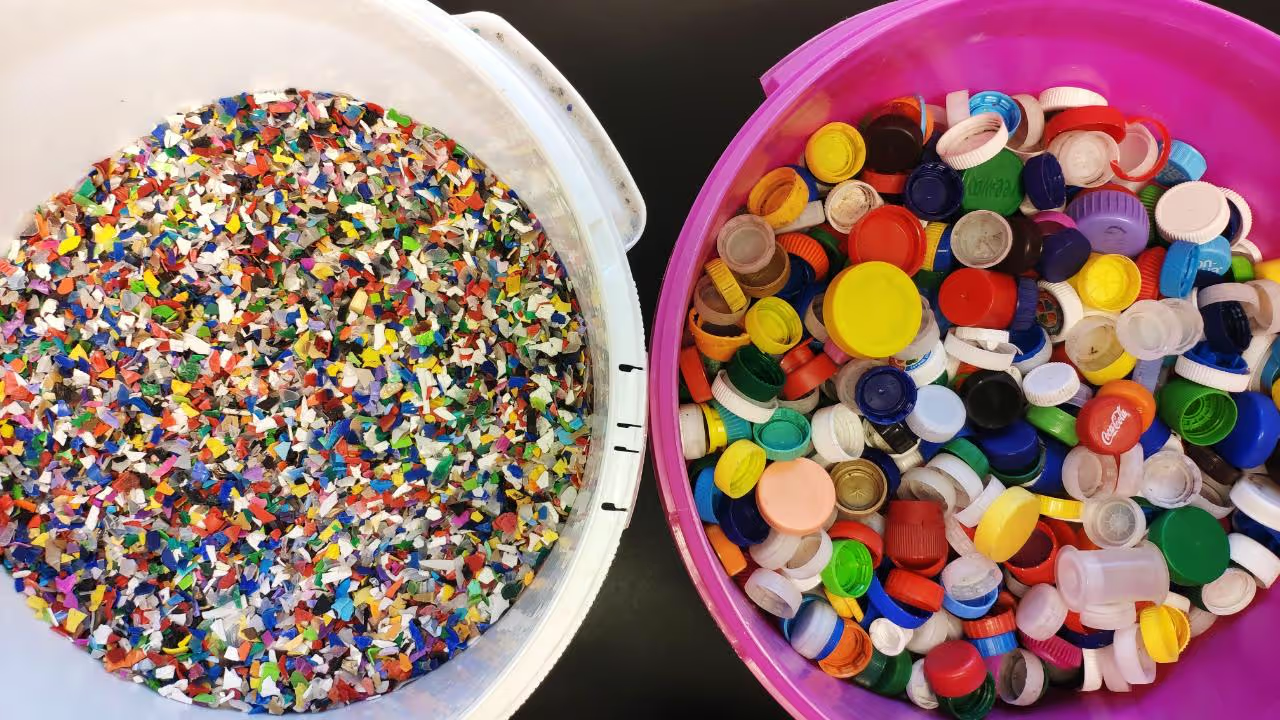
I have already tested HDPE, PP or PLA with good results. You can play with different colours and bottle cap design. :) You need between 270 - 350 g / clock (depends on material density)
Before testing new material type, make a note/ picture how many material did you use. It will help you with future production. I use technological sheet uploaded as PDF/ Excel.
Clean mould from impurities, dust or remaining plastic particles from previous production. (I use smooth sand paper) To avoid sticking use mould release or oil. Make sure your oil will not get to its smoke point: en.wikipedia.org: en.wikipedia.org/wiki/Template:Smoke_point_of_cooking_oils I recommend oil with smoke point above 230 deg. Celsius
I use IKEA Görlig electric oven. Set up temperature according to your material type. For HDPE and PP I use temperature 225 deg Celsius. I put mould in the oven for 50 min. Set up timer.
Attention - use heat resistent gloves when you operate with mould from oven :)
After baking process, press mould. Cooling process take 20 - 30 min. If you open mould earlier, there is risk of deformation.
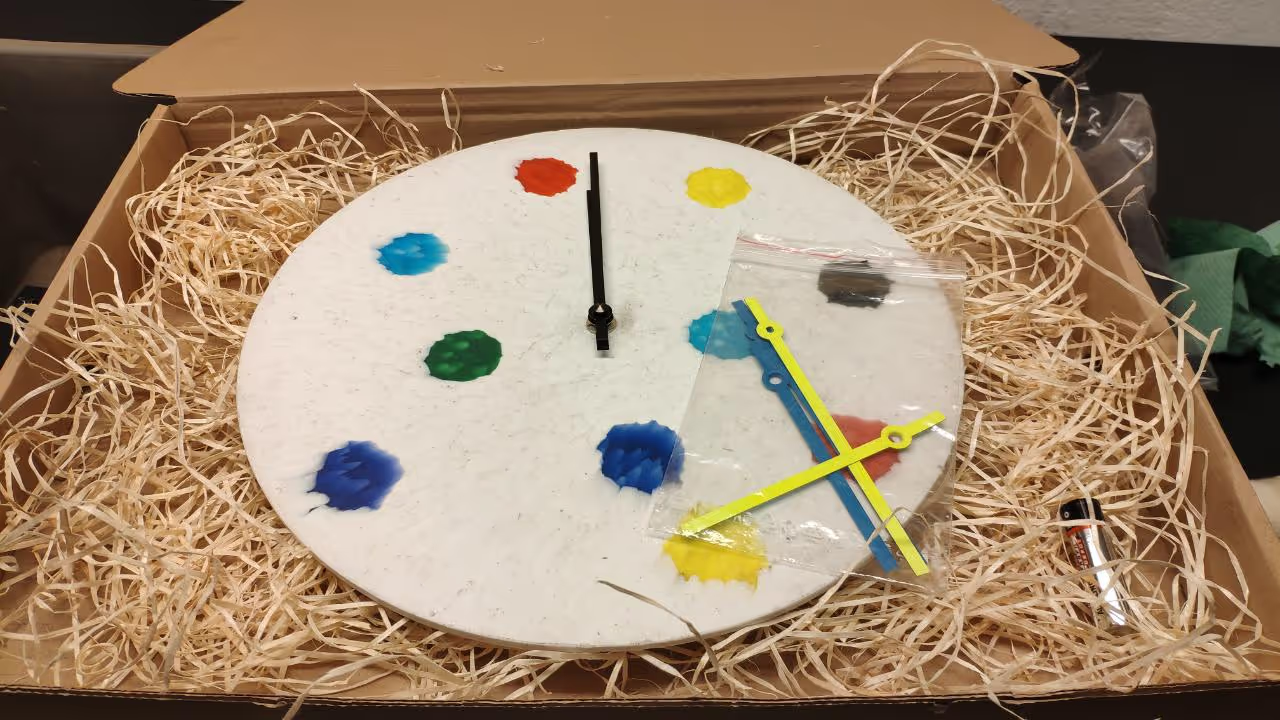
Cut out edges with knife, You can sand surface. Drill hole in the middle according to size of your clock mechanism. List of components and tools for clock assembly that I use - available in supporting material. I buy them from Czech company. On back side of clock there is small square frame which fits to the clock mechanism I use. You can modify mould as you want. I prefer to fix position of clock mechanism to prevent its rotation. I do not recommend sanding of surface if you use plate with numbers (area around numbers can be difficult to sand). Nice advantage is different colours of clock hands, you can combine different colours. :)
To provide more open source content, I will be happy for share, subscribe, like, follow or comment. <3
More information: linktr.ee: linktr.ee/plastmakers
Thank you.
Tom