Build a Fishing Canoe

PRODUCT
HDPE
Build a Fishing Canoe
PRODUCT
HDPE
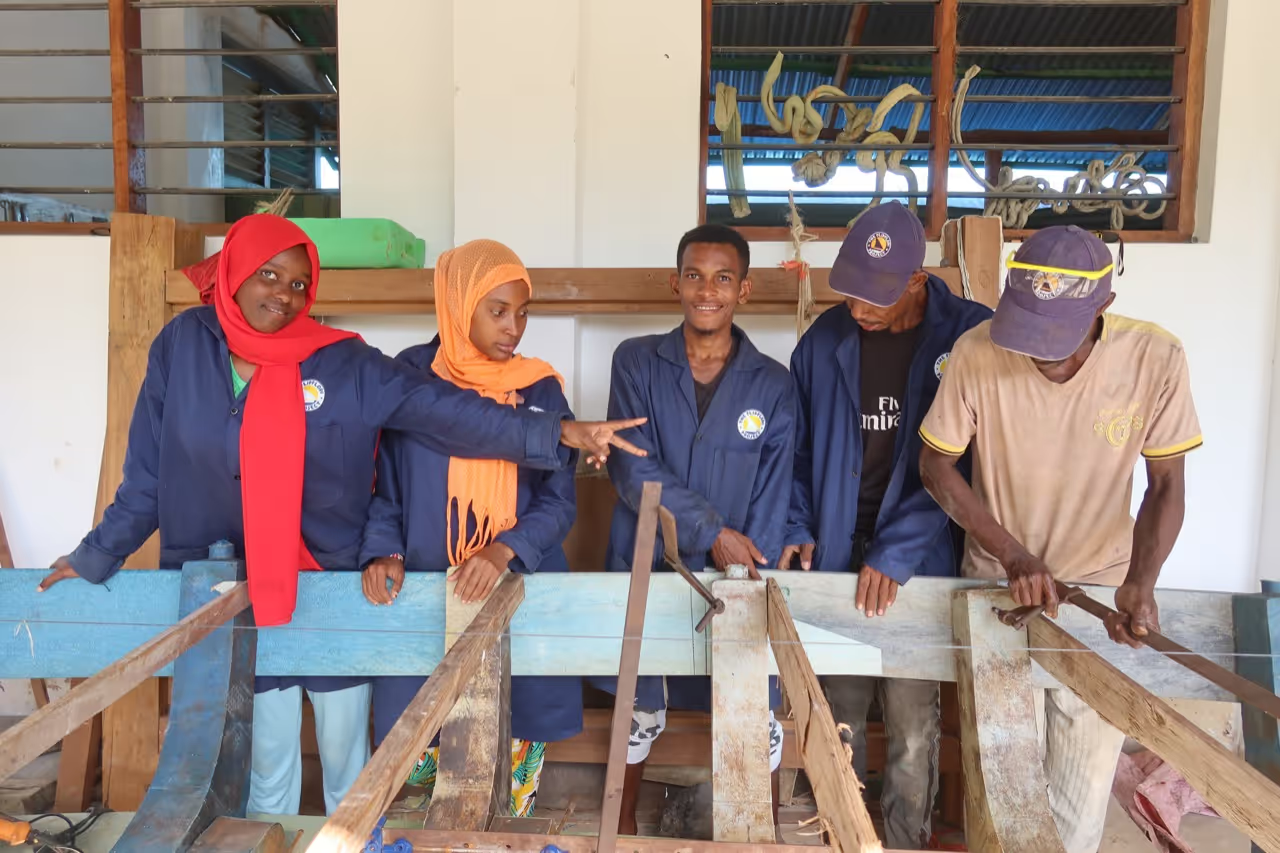
YAP YAP! At the Flipflopi Project we piloted a first of its kind heritage boat building course, using waste plastic as the major construction material. As a major practical project the students built a local fishing dhow “Dau la Mwao” which is a very commonly used vessel and a doable size for a short boat building course.
This how-to shows the process and learnings we made along the way ⛵️
Browse Files
Table of Contents
First things first
Design Considerations
Mould making
Extruding
Get ready for boat building!
Utako and Levelling
Front and back Mulis
Front and back Bitana
Define the boat shape
Mataruma (Ribs)
Farkumu
Kinara (top hull)
Wajihi (rest of hull)
Top locking
Staha
Firari + Dufani
Finish the base
Finishing & Sealing
Testing & finalising hull
Rigging / Powering
SAIL AND INSPIRE
First sit back and watch the full process so you can get an idea :)
Boatbuilding is a skill that needs a lot of practice and experience, but with this video and the following how-to steps, you might actually be able to build your own! ⛵️
Let's see!
For this boat, we took an example and measurement of an existing traditional fishing canoe and made designs for moulds to fabricate the required parts.
Although we could design very differently (potentially more efficiently) with plastic, we decided to stick as much as possible to the original design, as this enables boatbuilders to use their traditional building approach and helps to teach and maintain their boatbuilding heritage.
For efficient use of materials, our moulds were designed with multi-use in mind (so the L-shape rib can be used as an L-shape bracket to reinforce different parts in a bigger dhow, or a “Muli” mould was long enough to serve for the canoe as well as the slightly bigger Taxi dhow). Note, that this also resulted in heavier parts than necessarily required.
The custom moulds were designed in CAD and the drawings (you can find them in the download files) were sent to the be plasma cut out of 4mm steel sheets.
The sides of the moulds were designed with alignment steps, to make assembly easier (due to an unclean cutting of the plasma cutter this resulted in a lot of manual post-processing work and unclean edges though).
The rest was fabricated in-house: Assembling, bending, welding, drilling and bolting. To avoid swelling of the mould under pressure, reinforcement brackets were added to the sides.
NOTE: For future welding jobs, we would cut the sides of the metal parts straight (without alignment steps), unless we are 100% sure about the quality of the cutting. This simplifies the process and even allows us to fabricate completely in-house, making the process more affordable at the same time.
To extrude / inject into these parts you will need quite a fast and powerful Extruder, as they have quite a big volume. We are using an industrial extruder, but an Extruder Pro ([filtered] Design) could also work (to be tested!).
With our extruder, we filled the parts in about 10-15min with 15-20kg of plastic. As we noticed a lot of shrinkage and air pockets in the material, we adjusted the process and continued injecting plastic for 1-2 more minutes once the plastic came out the relief holes (indicating that the mould was full) to achieve more compression.
We used 100% HDPE for our parts.
LEARNING: Make sure to check the quality of your parts to know if you need to adjust anything in the process. The weight is a good indication for the likeliness of airpocket inside.
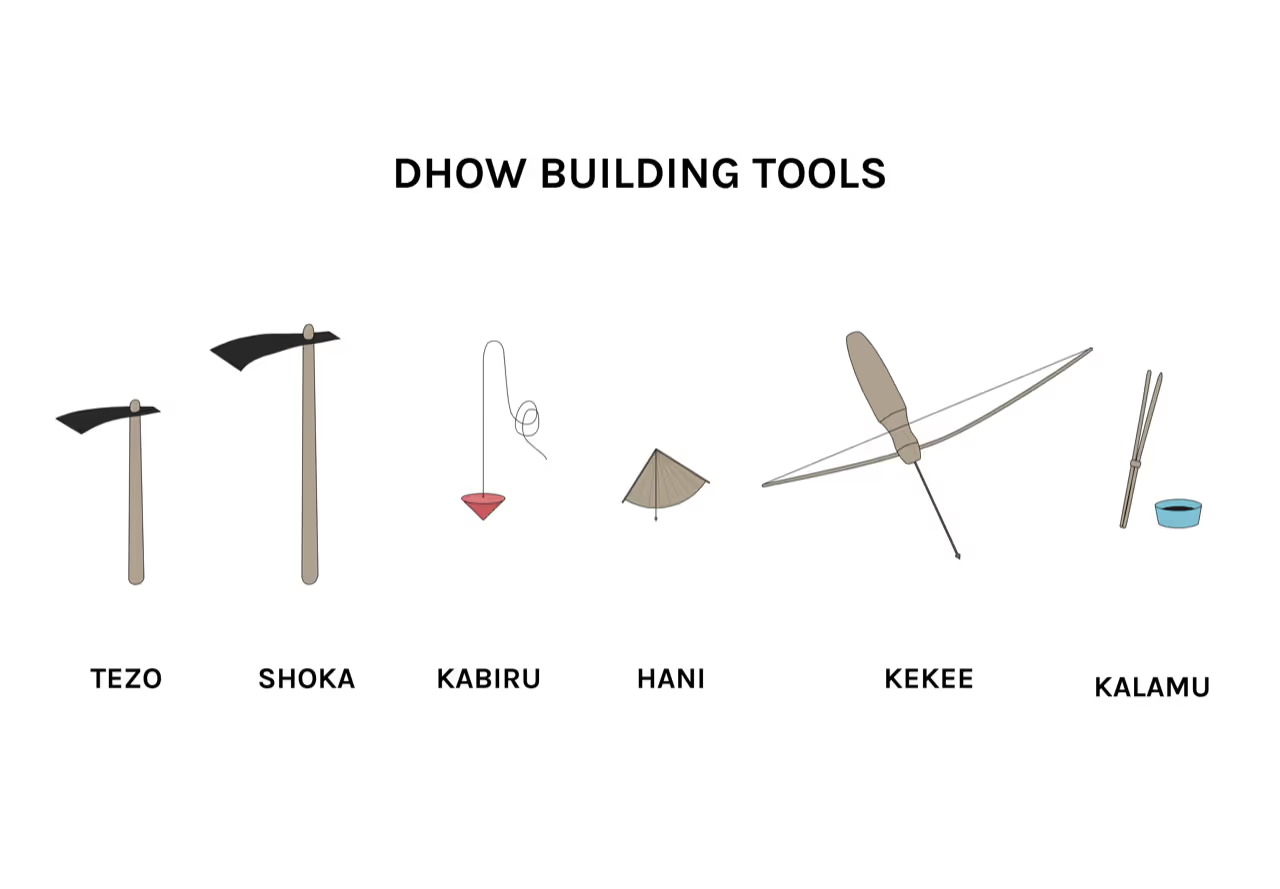
Time to prepare all your materials and tools for boat building. This is what you'll need:
Plastic material:
Fixings: screws and bolts, corking cotton
Tools:
Space: Use a flat space with smooth floor to make it easy to collect the plastic dust / particles.
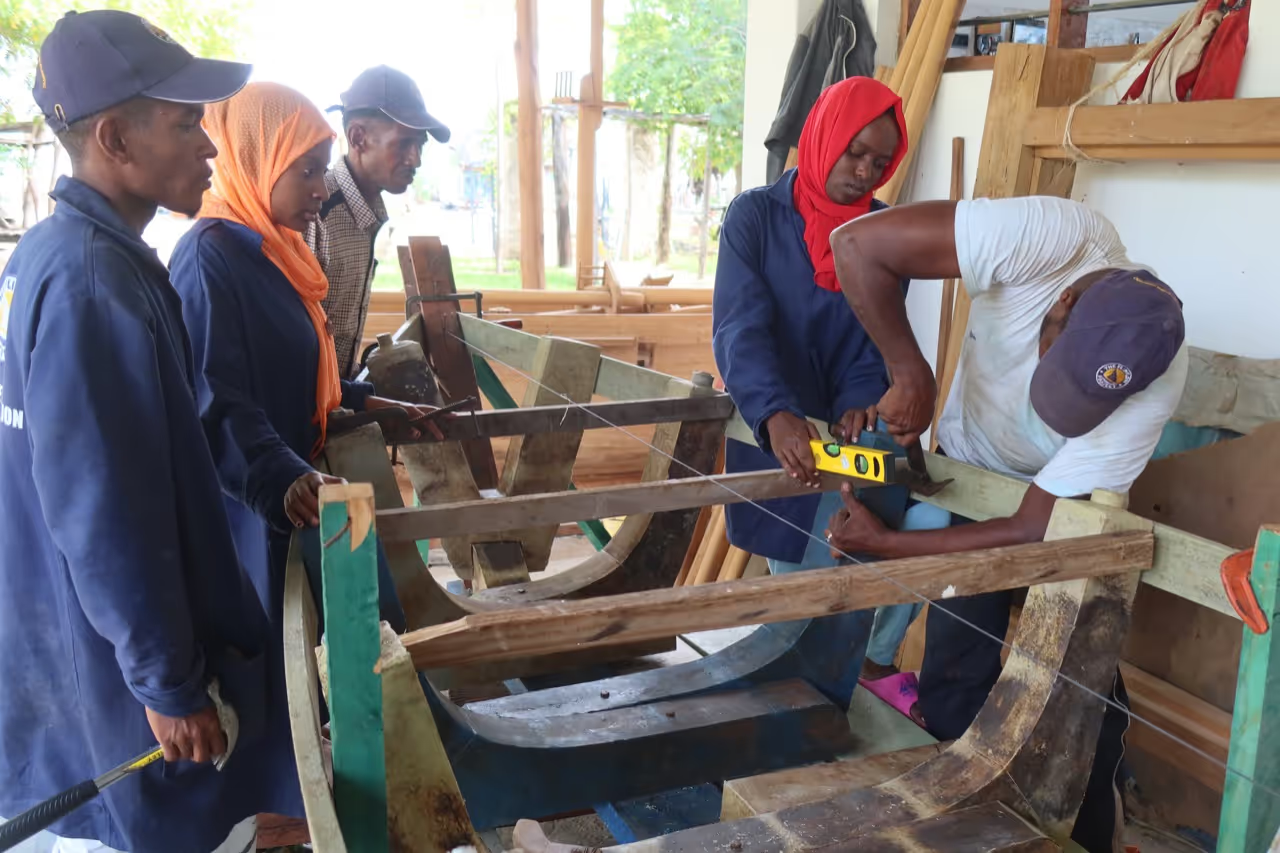
First very important step is to level your keel ("Utako") as all your next steps will be based and relying this straightness and level.
Material used:
Levelling tools: Spirit Level and Hose pipe
Process:
Note: Plastic planks can sometimes have a bend or twist. You can help bring them on one level by adding weight.
Materials used: Mulis (2x) and temporary supporting poles ("Mabunda")
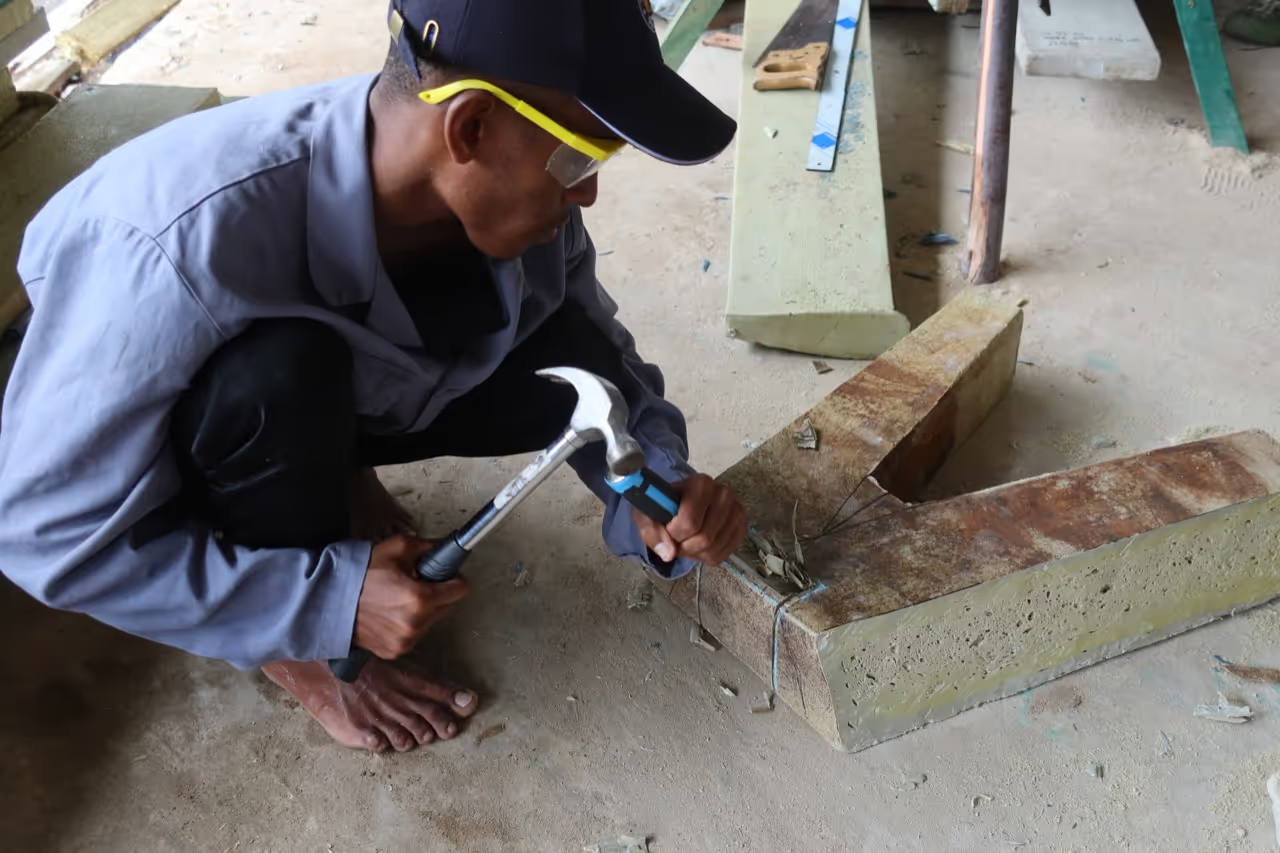
Process:
Note: We used silicone between the surfaces and cotton around the bolt to seal the joint.
The Bitana is a bracket reinforcement to hold the Muli to the Keel.
Materials:
Process:
Do this on the front and the back side.
You can choose different widths depending on how you want to use the boat. To be able to transport people comfortably, we chose the width to be a quarter of the length. It helps to choose the width according to the planks you have available.
Materials:
Process:
Materials:
Process:
Farkumu
Materials
V-shape ribs "Farkumu" (2x)
The V-shape beam sits on the Bitana. To join them, make a lap joint between Bitana and Farkumu.
Join them with a bolt through the keel
THIS STEP TAKES A LOT OF TIME TO MAKE THE HULL FIT WELL.
Material: 9x1,5" x 10pcs
Start with Kinara (top plank)
Materials: 9x1.5" planks (6pcs)
MAKE SURE ALL PLANKS ARE FITTED TIGHTLY, SO THERE IS AS LITTLE GAP AS POSSIBLE. (you can use a saw in between to cut of uneven corners)
Top locking
Next step is to lock everything well in place with side strips and crossing beams
Material:
Process:
Staha
Staha is to reinforce the Muli to Kinara (and to provide sitting area and storage)
Used materials:
Process: FRONT STAHA
BACK STAHA
Firari and Dufani are the top to finish off the top edges and reinforce the structure once more.
Materials: Dufani (5x1", 4pcs), Firari (2.5x1", 4pcs)
Process Firari:
Process Dufani:
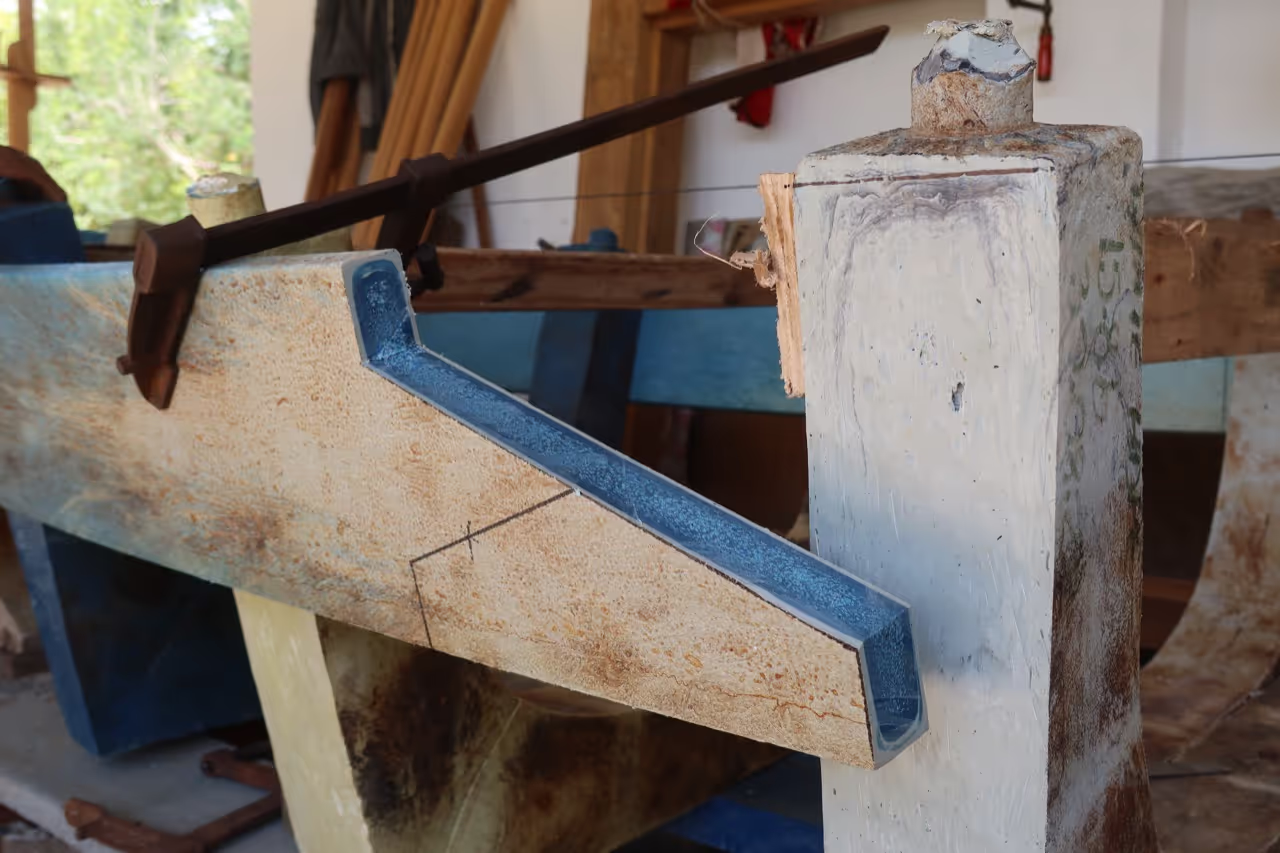
Time to turn your dhow upside down to finish the base!
Important! Don't forget to create a water channel on both sides for the water to pass through. (see photo)
Cut your planks according to the shape of your base, and make sure to fit them with as little as gap as possible.
Screw them onto the ribs. Base is done :)
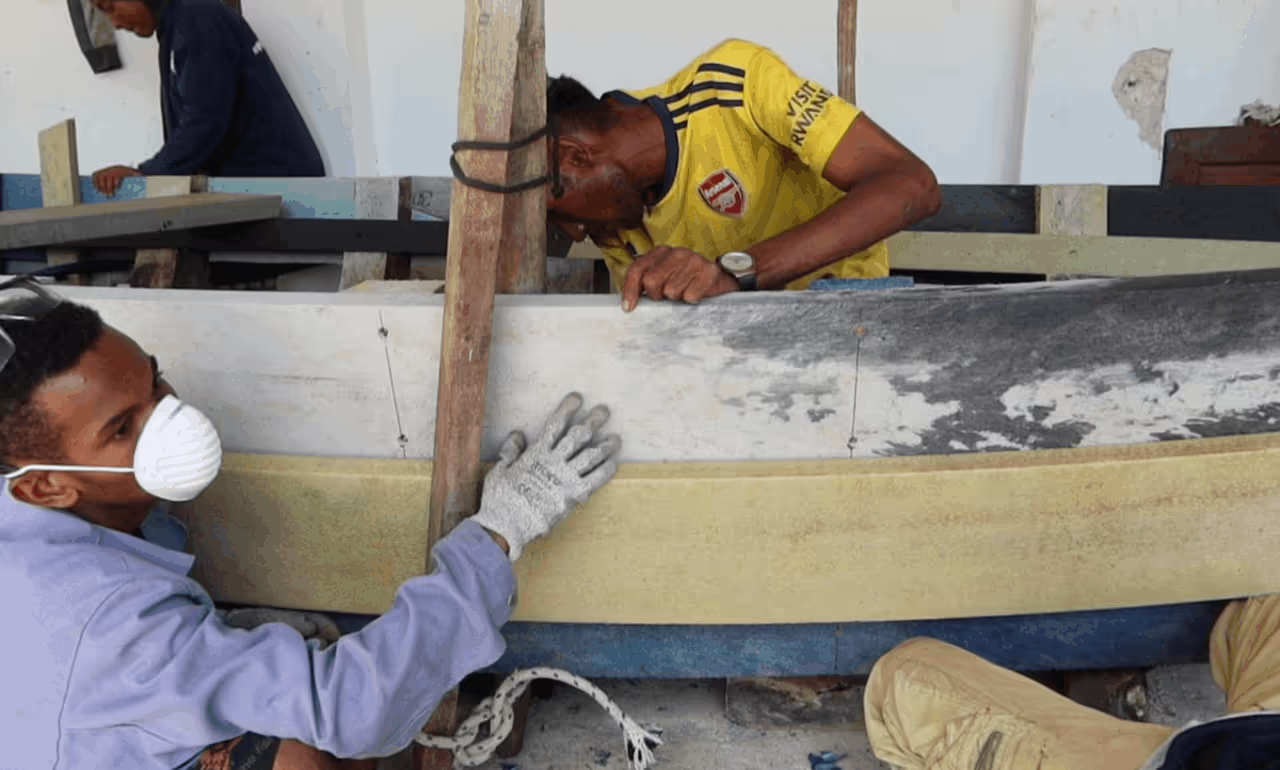
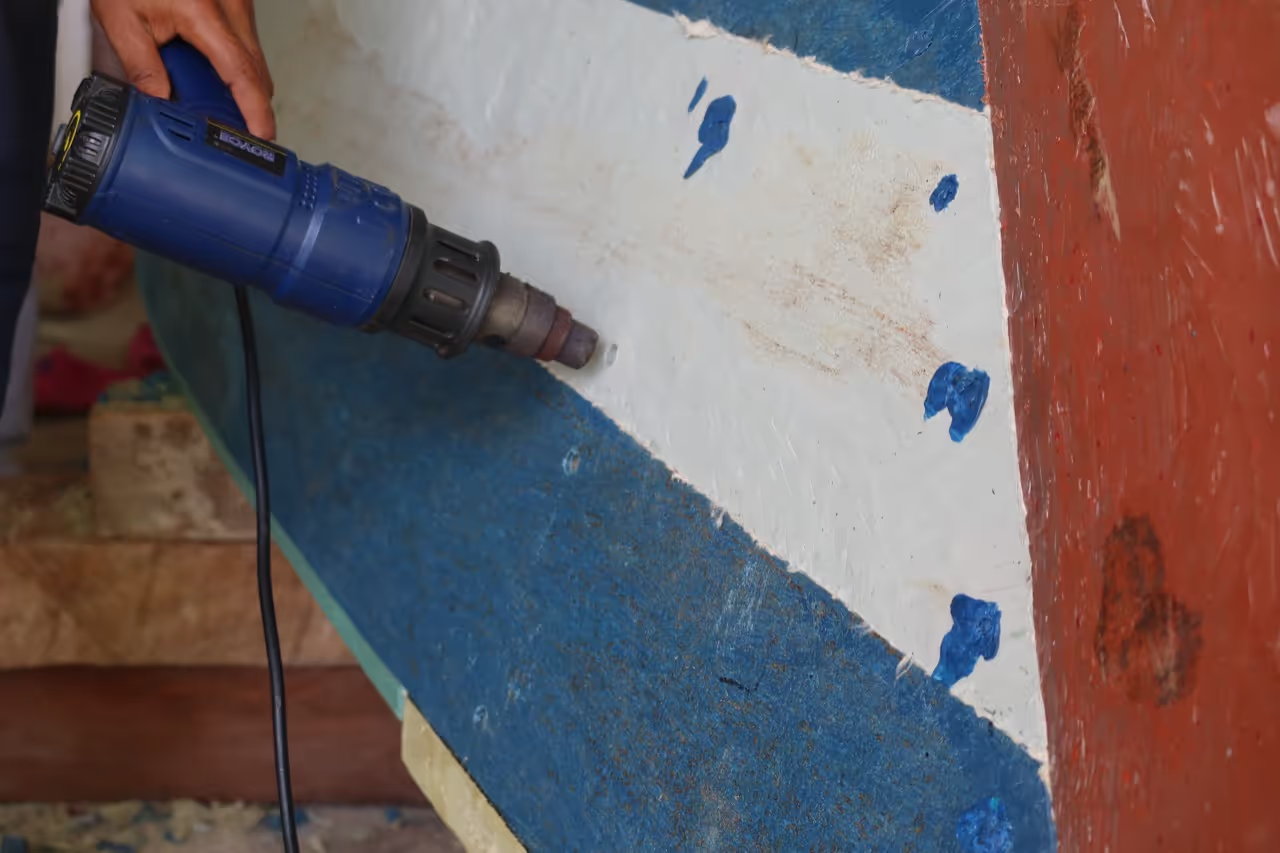
Now last step remaining is to finish and seal the dhow, so no water can enter inside.
NOTE: The plastic welding was done very low-tech and is to be tested! We hope to test a proper plastic welding tool soon for the sealing of the hull and will share the results :)
Big moment! When you're done with the hull and first round of sealing, it's time to test:
Alright, you're basically done!
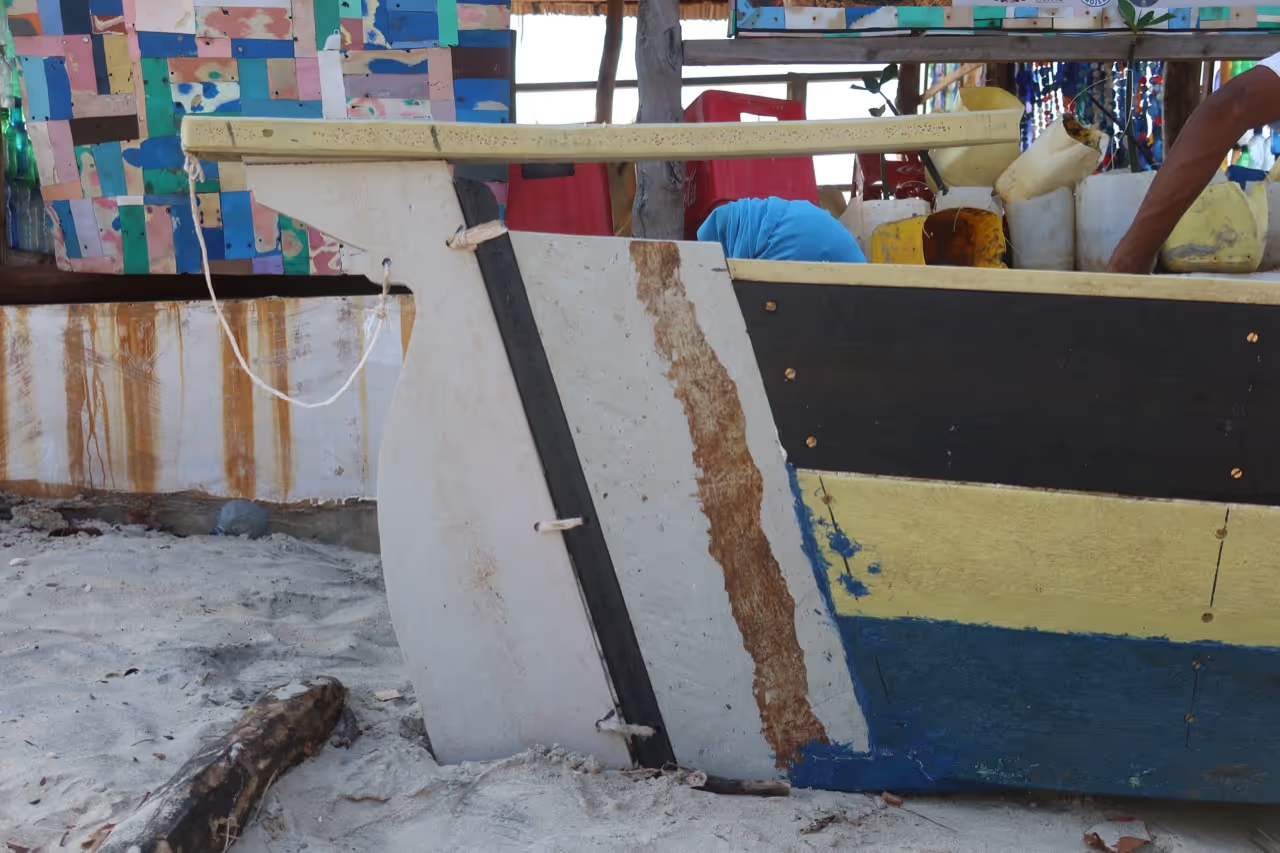
You can now decide how you want to power your boat: With a motor, paddles, or a sail?
We are sailors, so we obviously put a sail, with a rudder. (The mast and boom are traditional ones out of wood) Additional bonus if you use a sail: Make it an eye catcher and use the opportunity to create awareness ✨
Now go out there, inspire others, tell them the story (and to join the fight against plastic pollution), and enjoy!
If you get to this point or it inspires you to do something similar, please let us know, we'd be so happy (you can tag us on social media with @theflipflopi)
Oh, and always have something with you to bale out water - even if no water is coming in from the bottom, it might be coming in with the waves :)